Part 3: Strategies for Permanent Demo Rooms
There’s always something new and exciting happening with our clients, and the exhibit world in general. While we’re certainly dealing with a lot of unforeseen events these days, this is really just another opportunity to try new things; maybe go out on a limb a lot further than you would have, even two months ago. The ideas here will provide you with some action items to work on now, so you can hit the ground running when the time is right.
Solution 3: Permanent On-Site Demo/Training Rooms
We’re talking about permanent installations like demo rooms or training centers. Obviously, the location is important here. You’ll need to consider the location of your customers and your prospects and the ease of getting those people to visit you.
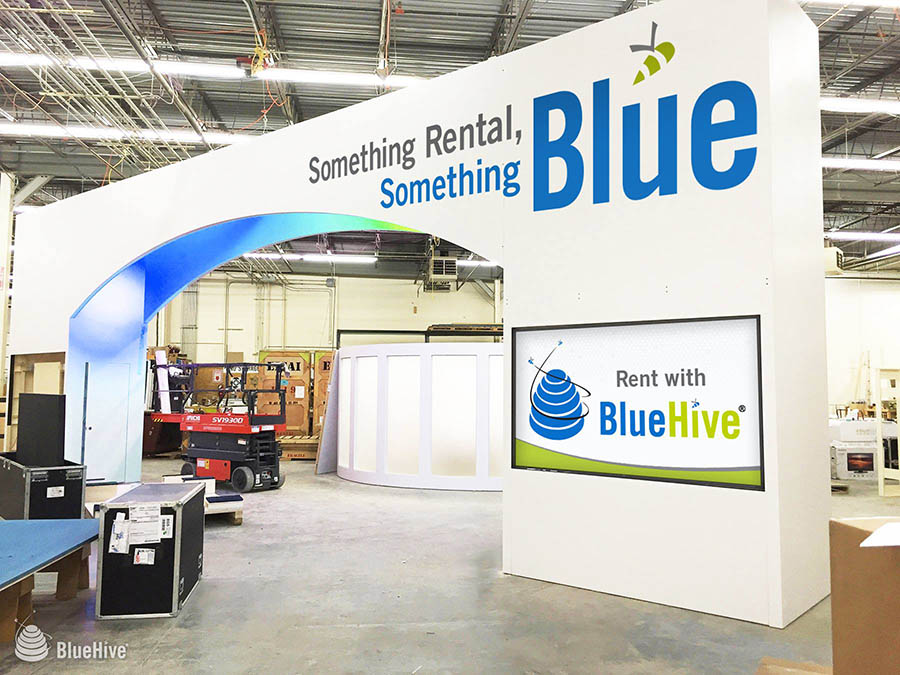
These kinds of projects are often a collection of actual demo equipment itself, but also an opportunity for branded elements like a glowing 3D sign, wall graphics and other design elements that allow you to create this flexible space within an entire branded environment.
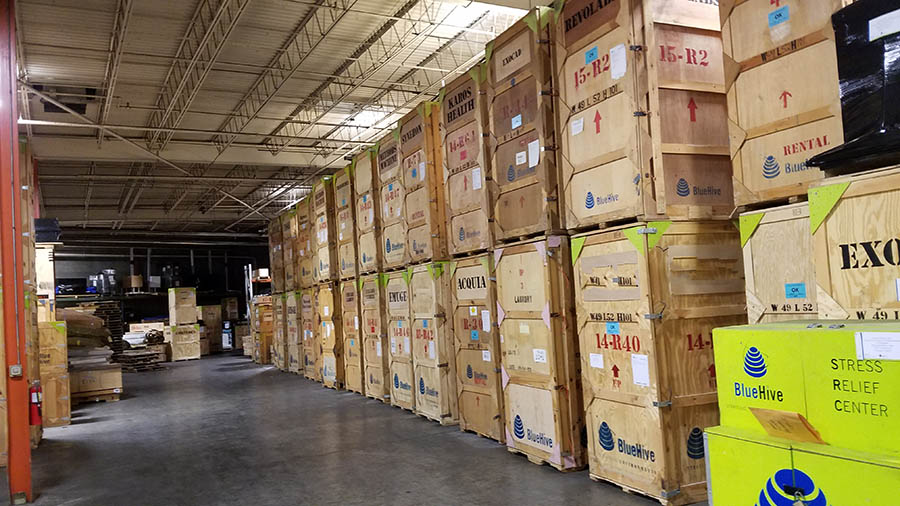
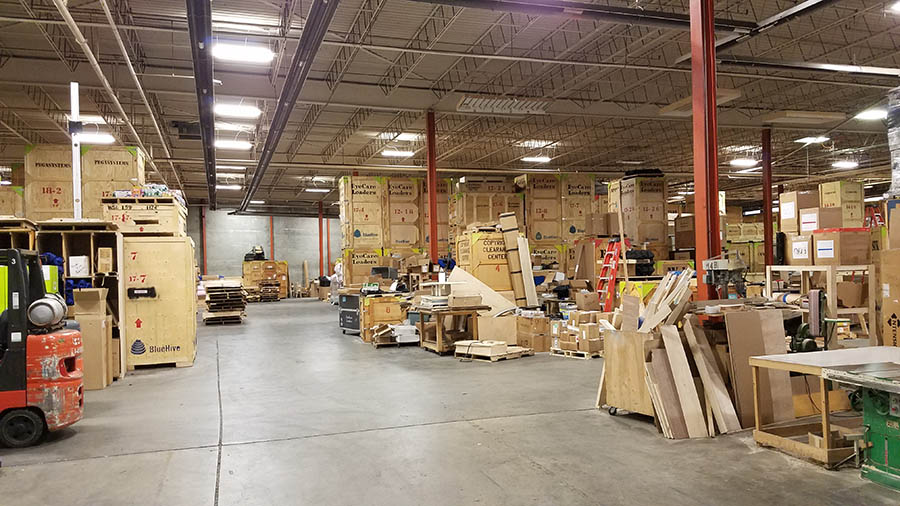
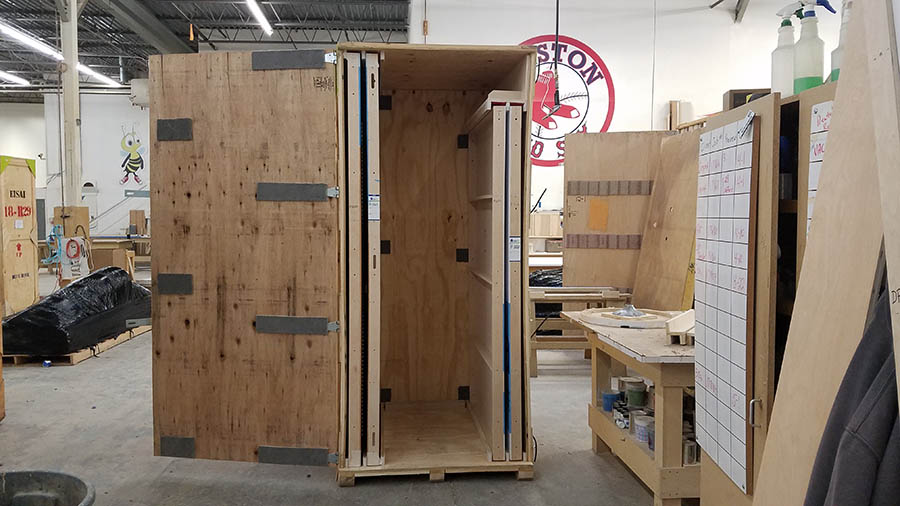
(Note: The visuals presented here are all things that BlueHive as a company have produced.)
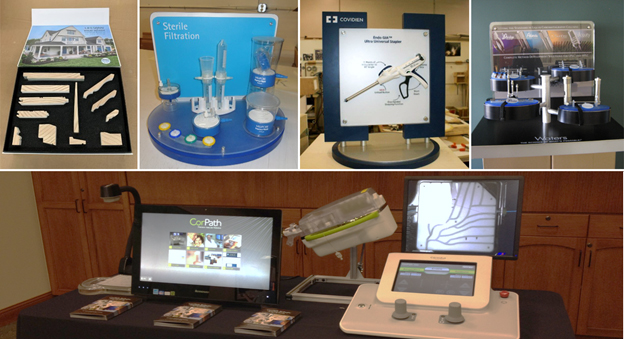
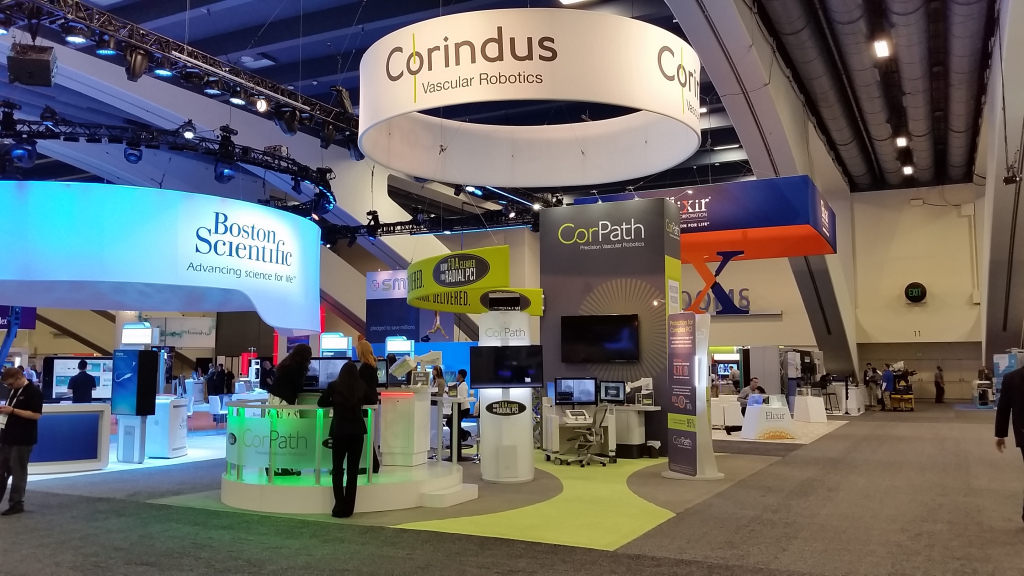
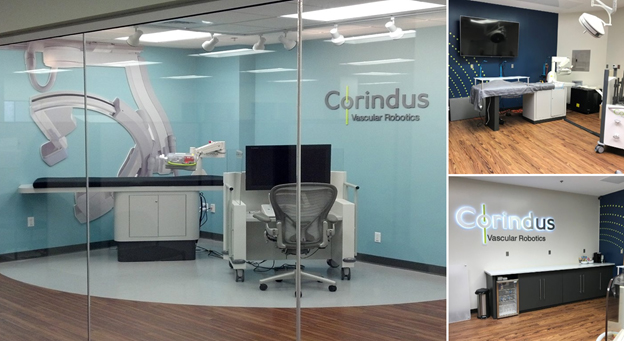
Our exhibit definition for the word vignette is to take the product and try to place it in an environment that helps to sell it. With Corindus, as illustrated above, we’re loosely mimicking a cath lab, so that when the doctor sits down at that controller, they feel like they are sitting in their own cath lab and can see themselves using the product.
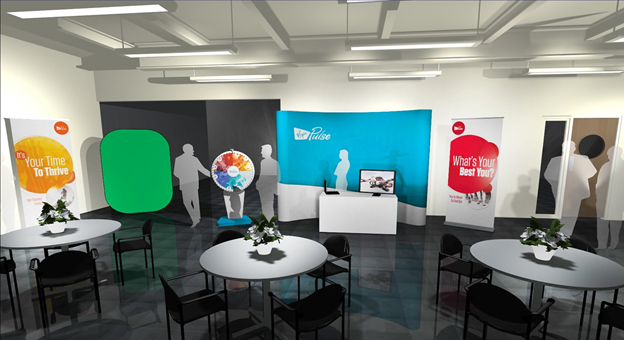
To design a space like this, think about the product(s) that you’ll be demoing and think about the setting for it. Should you create a vignette to visually place the product in its natural setting? Should you place the product on a pedestal and make it a star? No matter what, always consider messaging, signage, and graphics to support your efforts. Consider branding and identity, but without being overbearing. This is a branded marketing piece, but obviously your goal is to recreate a comfortable environment in which to show everything.
The process a lot of the time has to do with your available space and budget. You can build things out in real life, but we like to think of them more like theatrical sets. If something in the background environment is too large to actually incorporate, you can use wall graphics or integrate AV to still bring that visual into the room. (We once took a monitor and made it look like a window with a pre-canned video playing to make it look like other things were happening outside the environment!)
When it comes to getting value from this investment, you should design with flexibility so that you can not only demo for prospects and clients but also educate and train customers as well as employees.
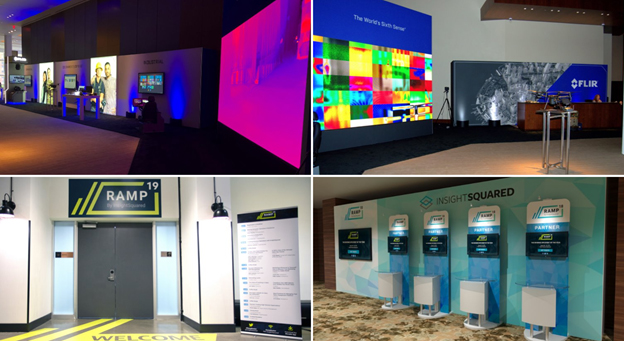
Let’s look at some larger scale examples:
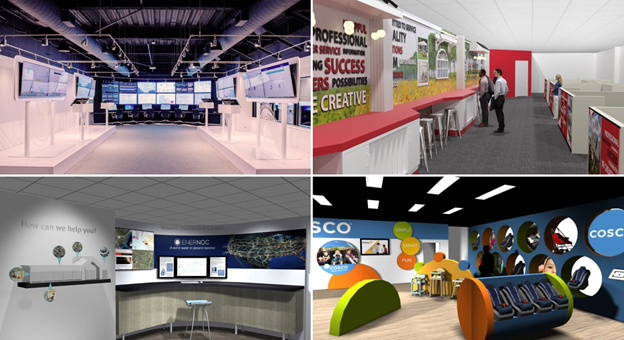
(Note: The visuals presented here are all things that BlueHive as a company have produced.)
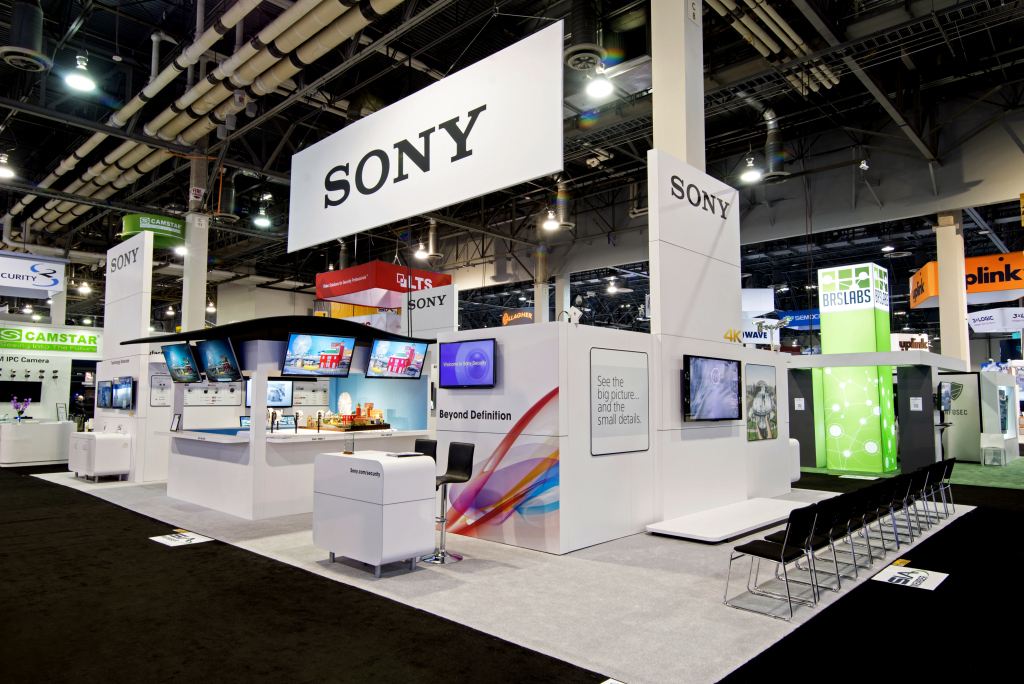
Top Left Image:
This is a normal demo room, just on a much larger scale with accent lighting up above that can be controlled, touchscreens all up and down the hallway, and a big computer center at the end.
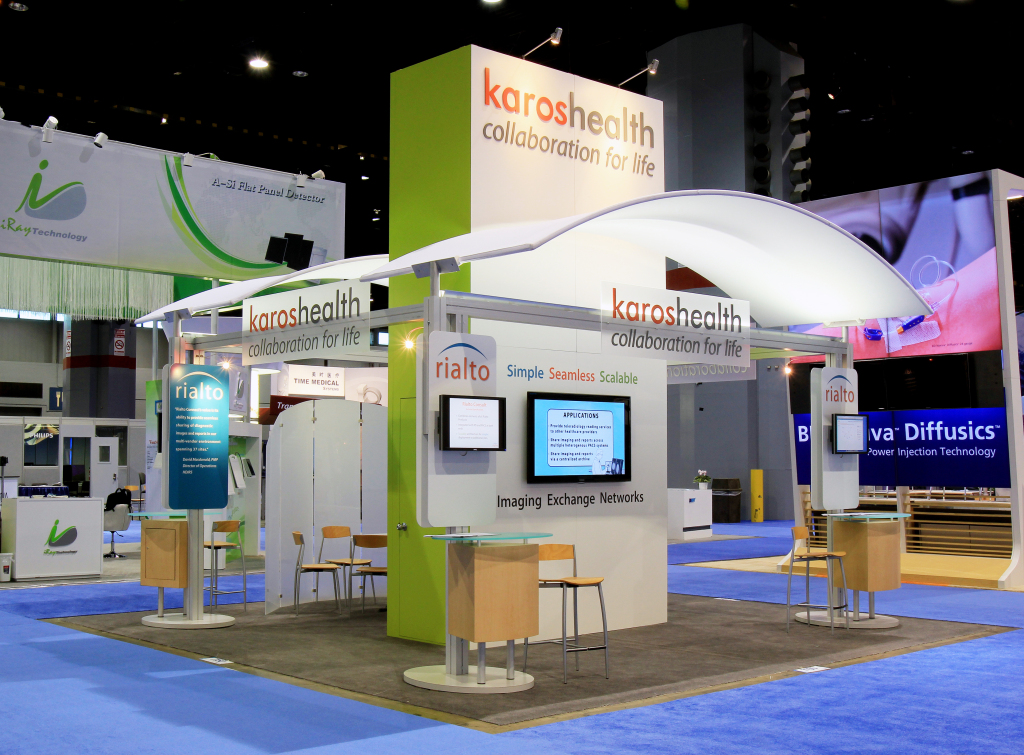
Top Right Image:
This is a permanent installation where the products are laid out on the wall. There are demo areas built-in so sales reps can sit down right there with a prospect and pull out the drawers and show all the accessories that go along with those products.
Bottom Left Image:
This NOC—Network Operations Center—incorporates augmented reality tools to be able to cover a breadth of information; particularly data that’s hard to display easily or more information than can be contained in the environment. The visitor would be handed a tablet to create an overlay effect and get much more detailed information without walking into an overwhelmingly full room.
Bottom Right Image:
This idea is about playing with the brand. This was a playful brand to begin with, and so we were inspired to be more playful and fun, incorporating stand-off graphics and little vignettes in the walls to hold the product, in this case strollers and baby seats.
A note on touchscreens, and the need to go touchscreen-less: We’re seeing touch-free interfaces like sensors built into the tabletops and backdrops which can control the existing assets, so you don’t have to necessarily build everything from the ground up if you need to go touch-free.
Conclusion
We’re all tired of feeling like we’re stuck in this hurry-up-and-wait game. These ideas offer several ways to get busy now with the leg work to implement a strategy as soon as you are allowed, helping you further increase exposure and drive sales.
As groups are allowed to congregate, we should see some live events take place and speed up a return to normalcy. Why not start smaller with live trainings and product demos in your own permanent center? No investment is wasted; nothing that you do now is wasted. So, let’s get out there and start brainstorming!
Check out Solution 4 from the BlueHive Engagement Playbook, here.